
Sale!

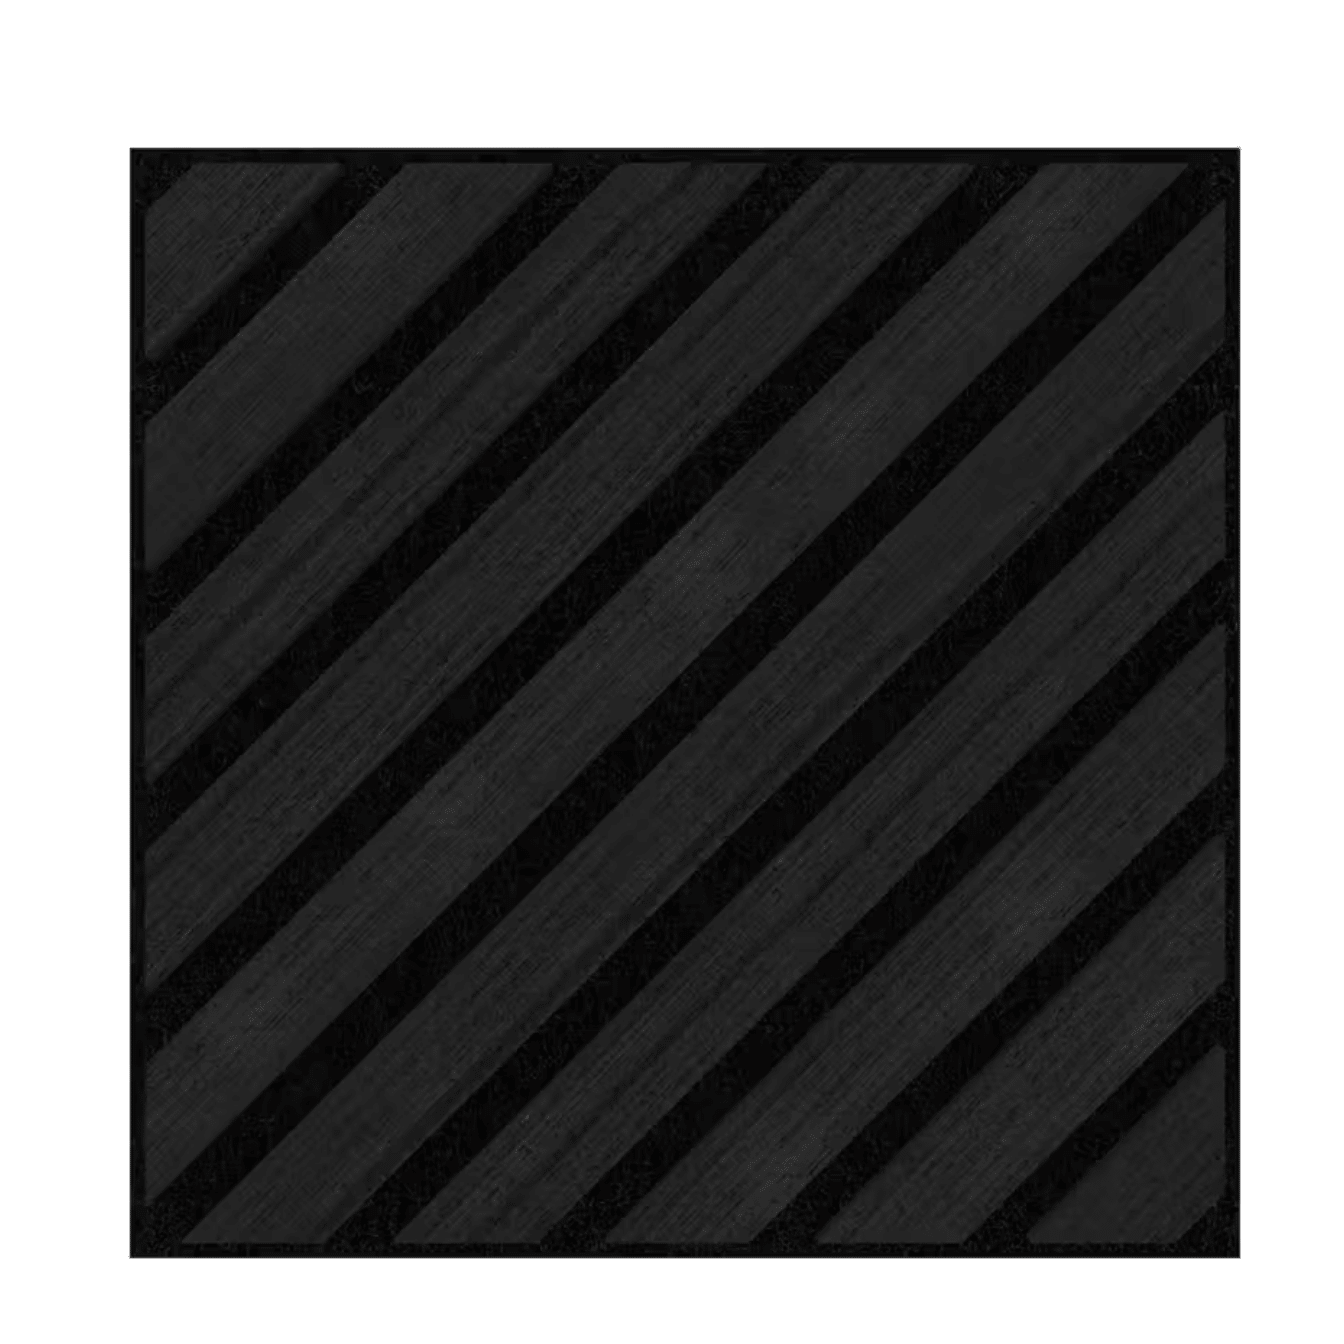
For a neater finish, it is recommended to use separate end pieces during panel installation (additionally): End piece 1 Järnvik Dimensio Nemus 73 x 7 x 2600 mm (JVWP-2551-RUMU-CMU; EAN: 6430049657752) 10,40 .- End piece 2 Järnvik Dimensio Nemus 84 x 7 x 2600 mm (JVWP-2551-RUMU-CMN ; EAN: 6430049657769) 10,40 .- 3D Wall Panel Installation Smooth the wall if necessary and remove any wallpaper remnants, etc. If needed, create a separate framework. Consider the need for a separate framework on a case-by-case basis. The framework facilitates the potential dismantling of the wall panels. Cutting Panels Use a circular saw with a blade speed of 5000-6000 rpm and a fine-toothed blade (minimum 60T, recommended 100T) to cut the panels. Ensure the ends of the panels are straight by always trimming them with the saw. a. Vertical Installation Always install with the male tongue first. If installing from corner to corner, separate end pieces are not needed; instead, cut the last panel lengthwise to the correct width. If the panels are not installed along the entire wall, start the installation with a male end piece. If there is an external corner on the wall, always start the installation from the external corner with a male end piece and cut the last panel lengthwise to the correct width. b. Horizontal Installation Always install with the male tongue first. When installing horizontally, the direction is always from bottom to top. When installing panels horizontally, the installation ends with a female end piece at the desired height, and no male end piece is needed. Attaching Tongue-and-Groove Panels Attach the tongue-and-groove panel with glue and nails to the surface to be installed. Apply glue along the entire back of the panel and place the panel in position. Finally, secure the panel with a nail gun on the male tongue side at approximately 40 cm intervals. Nail close to the edge so that the nail holes are hidden under the female tongue of the next panel. Always install from left to right, with the male tongue first. When installing on a stone surface, only glue (such as Wurth Power Tack or equivalent) can be used. For installation on a concrete wall, it is recommended to use Wurth Power Tack or Casco XtremeFix installation adhesive or equivalent. When installing on a wooden or sheet surface where nailing is possible, it is recommended to use Wurth Installation Adhesive Pro 140 or equivalent. The wall panel can also be glued to a separate backing board, which can then be installed as a whole on the wall, for example, by screwing it in place. Panel joints are not recommended, but the panel can be installed with a butt joint. Try to place the joint in the least noticeable location. NOTE: Always plan the installation carefully in advance by calculating the panel progression and taking any corners into account. If the panels are not installed from corner to corner, always factor in the impact of the end pieces on the progression to achieve the desired result and ensure the panels are positioned as planned. PLATFORM CHARGES AND SMALL DELIVERY SURCHARGE: EUR PALLET 15 €, FIN PALLET 18.6 €, SINGLE-USE PALLET 9 €, Small delivery supplement (<100 € for purchases) 13.2 €
You may also like…
-

925 Silver Silver ring, Blue topaz, amethyst and pink sapphire 2 Carat Hand Made
$ 31.60 Read more -
Järnvik 3D wall panel Nemus 315 × 7 × 2600 mmAdd to cart
-

Silver pendant, spessertite garnet 1.5 carat Natural Stones Handmade
$ 9.72 Add to cart -
Sale!

925 SILVER LONG MUFF CHAIN with Semi Precious Mix Stones Hand Made
$ 6.85 Add to cart
Related products
-

Women Silver 925 Earrings Spessertite Stone 2 Carat Natural Handmade
$ 49.52 Add to cart -

Lovely 3g.300m 14 Ct gold Pendant Natural Ceylon 2 ct Stones blue&pink sapphire
$ 96.55 Add to cart -

Silver pendant, yellow and pink sapphire1 carat and 50 points.Ceylon Natural
$ 16.06 Add to cart -
Hand Made 925 Silver ring Gemstone 75 Points Natural pink sapphire
$ 6.85 Add to cart